Bronze medal. Lost wax bronze casting. cups sprues & vents

Click here for the beginning

This what I had after bonding together the 2 wax halves

IMG_1886 IMG_1880 IMG_1884

The next step was handling preparation moulds: cups, sprue and vents

IMG_1903  IMG_1911

Set-up is completed and now my wax is ready for investment mould

After applying of a splash coat (1part of warm water and 2 parts of hydroperm)

You have 3 – 5 min for this step until the mixture becomes hard.

IMG_1913 IMG_1914

to be continued…

Pearl Clay Test

A ‘Pearl’ Japanese air dry  modelling clay.

IMG_4202 IMG_4206 IMG_4215 IMG_1877  'Pearl' clay  Pearl clay

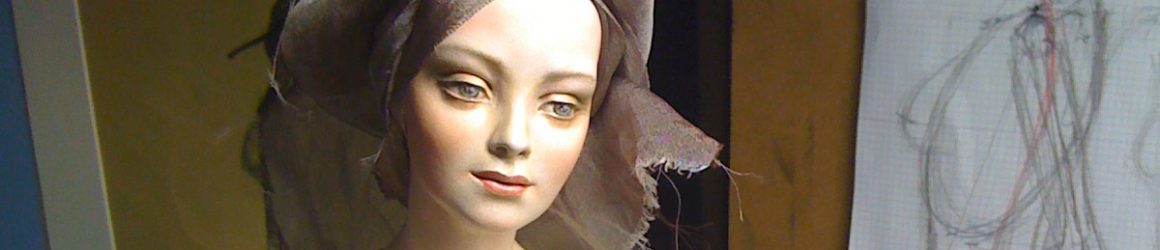
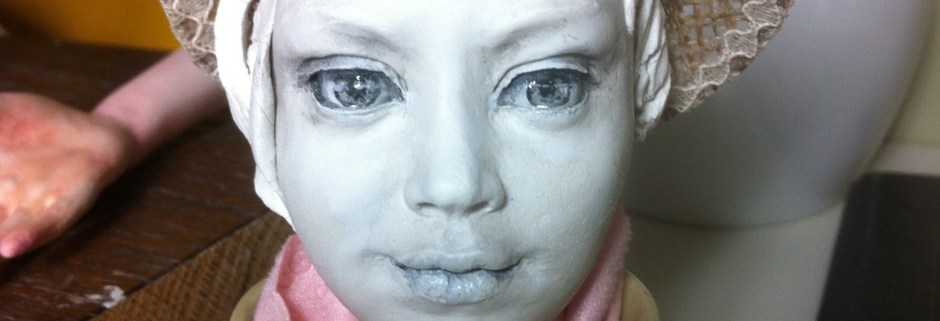
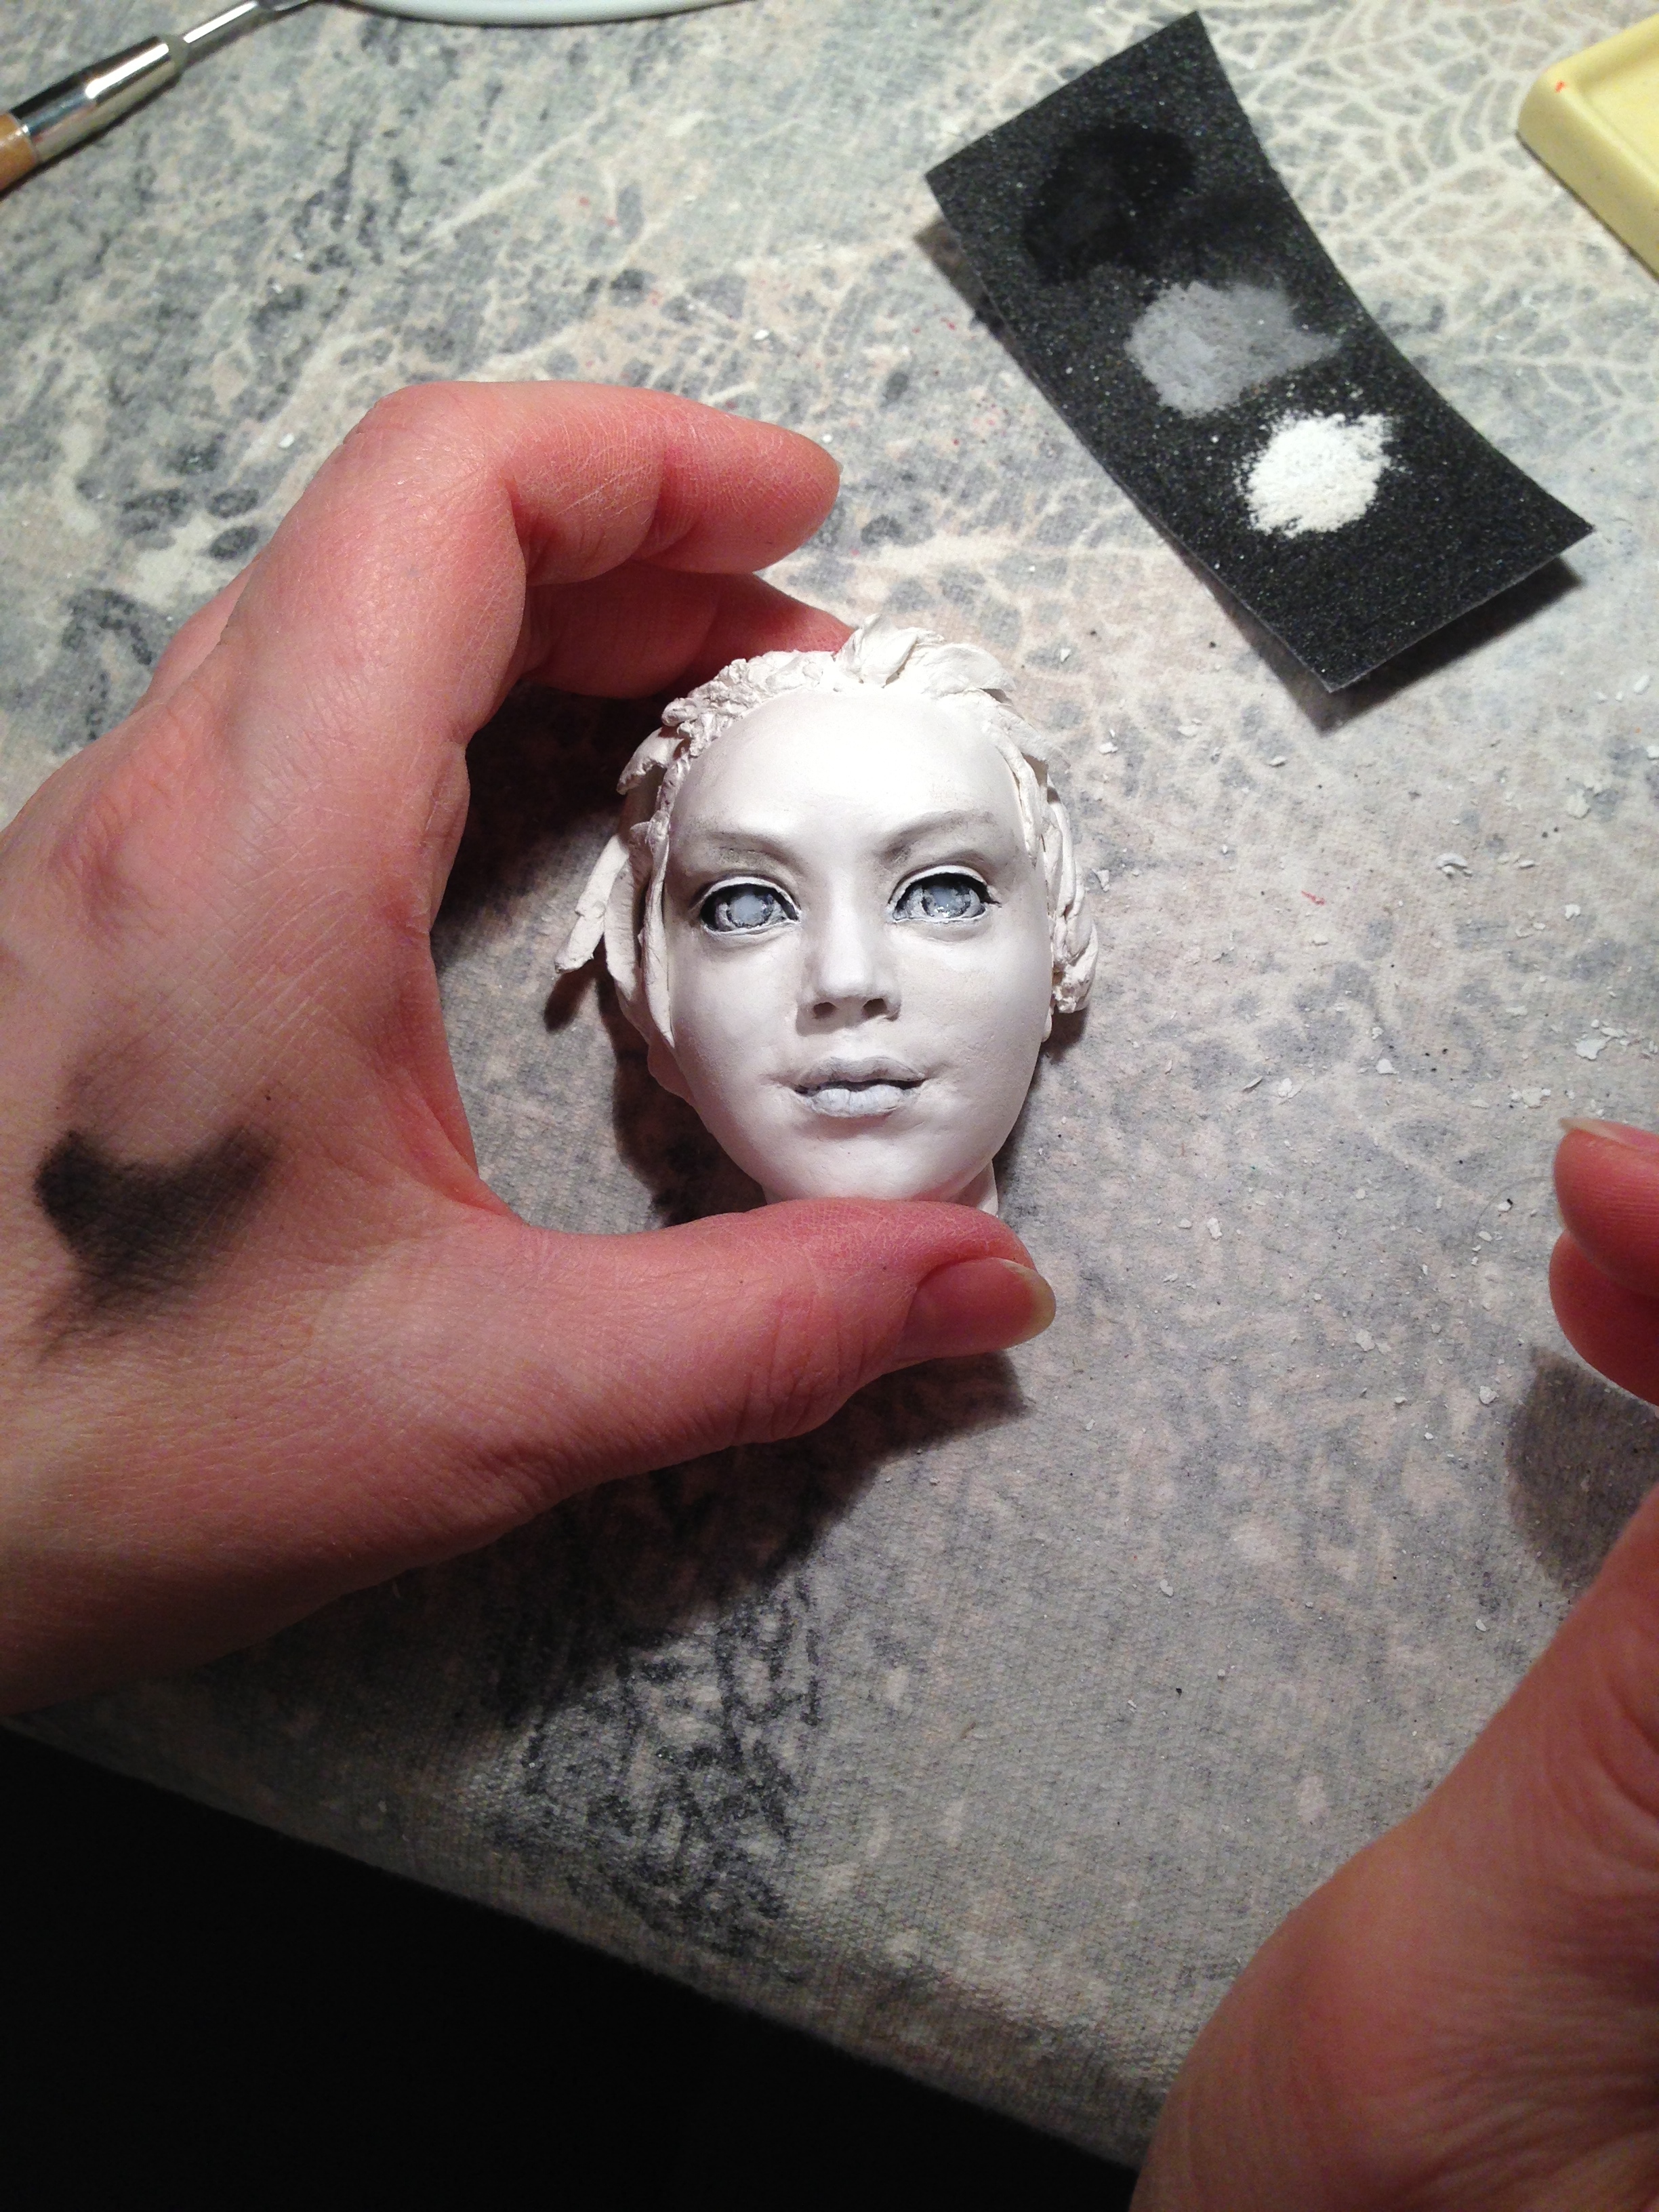
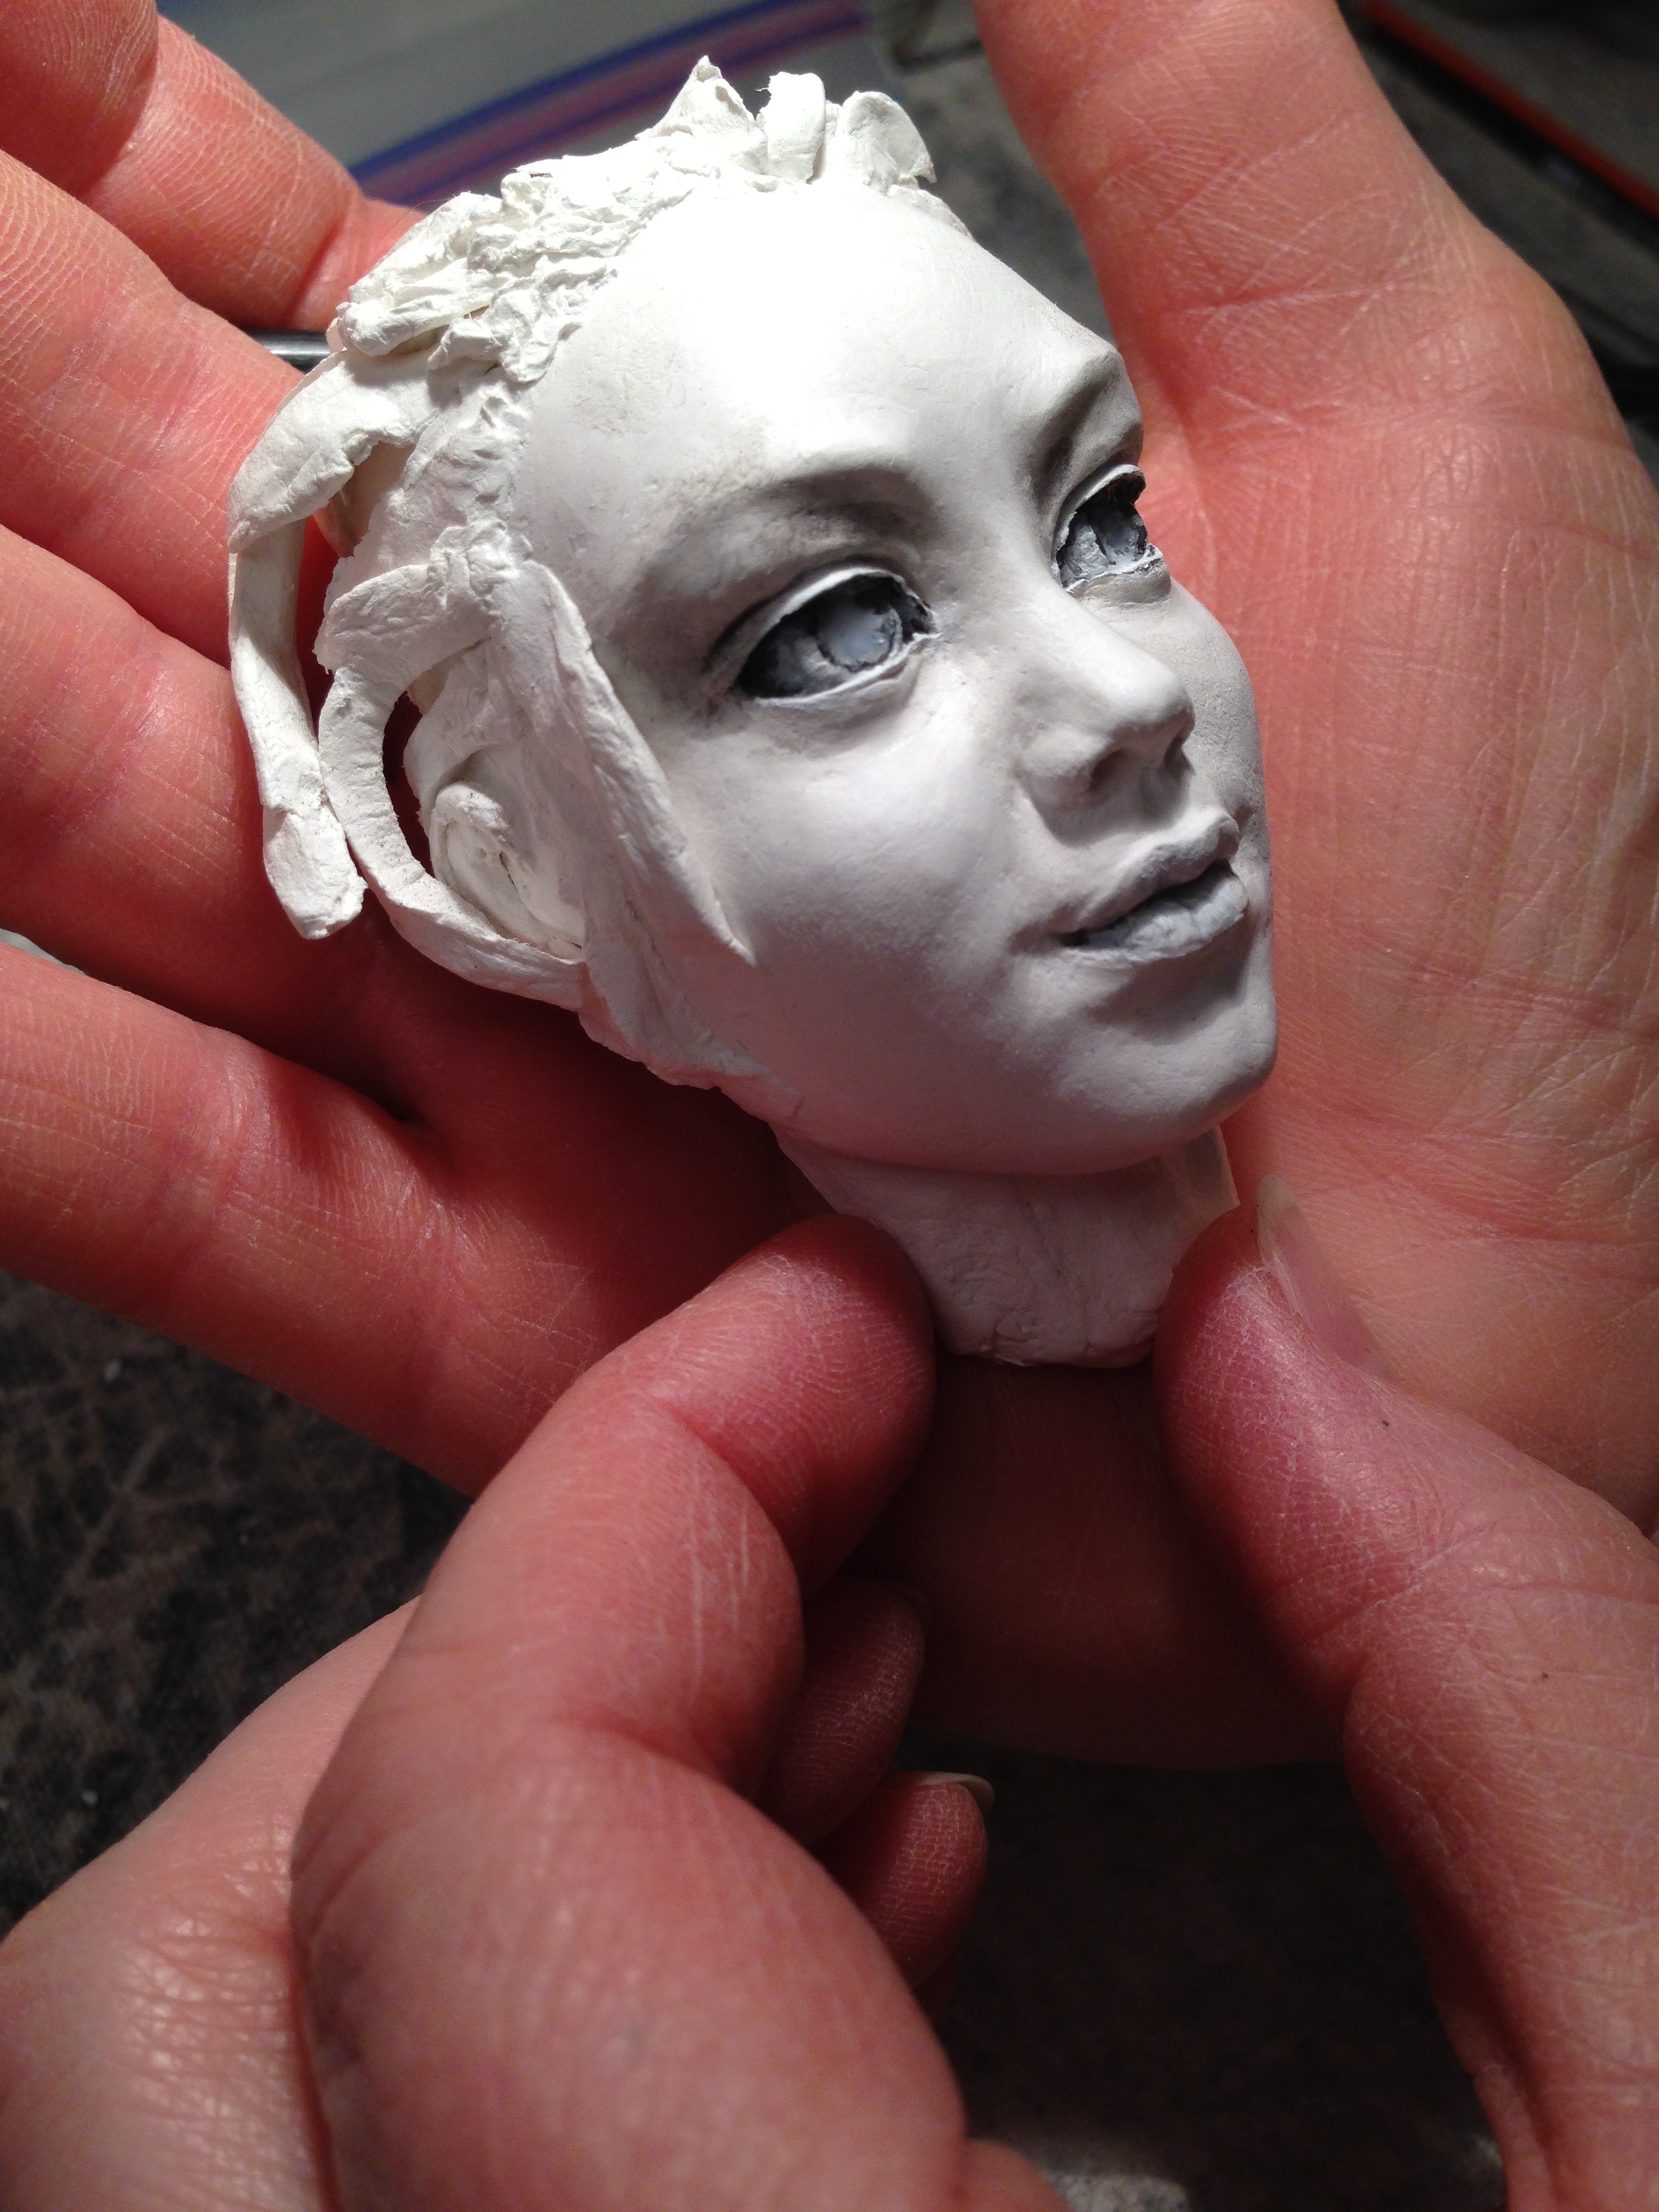
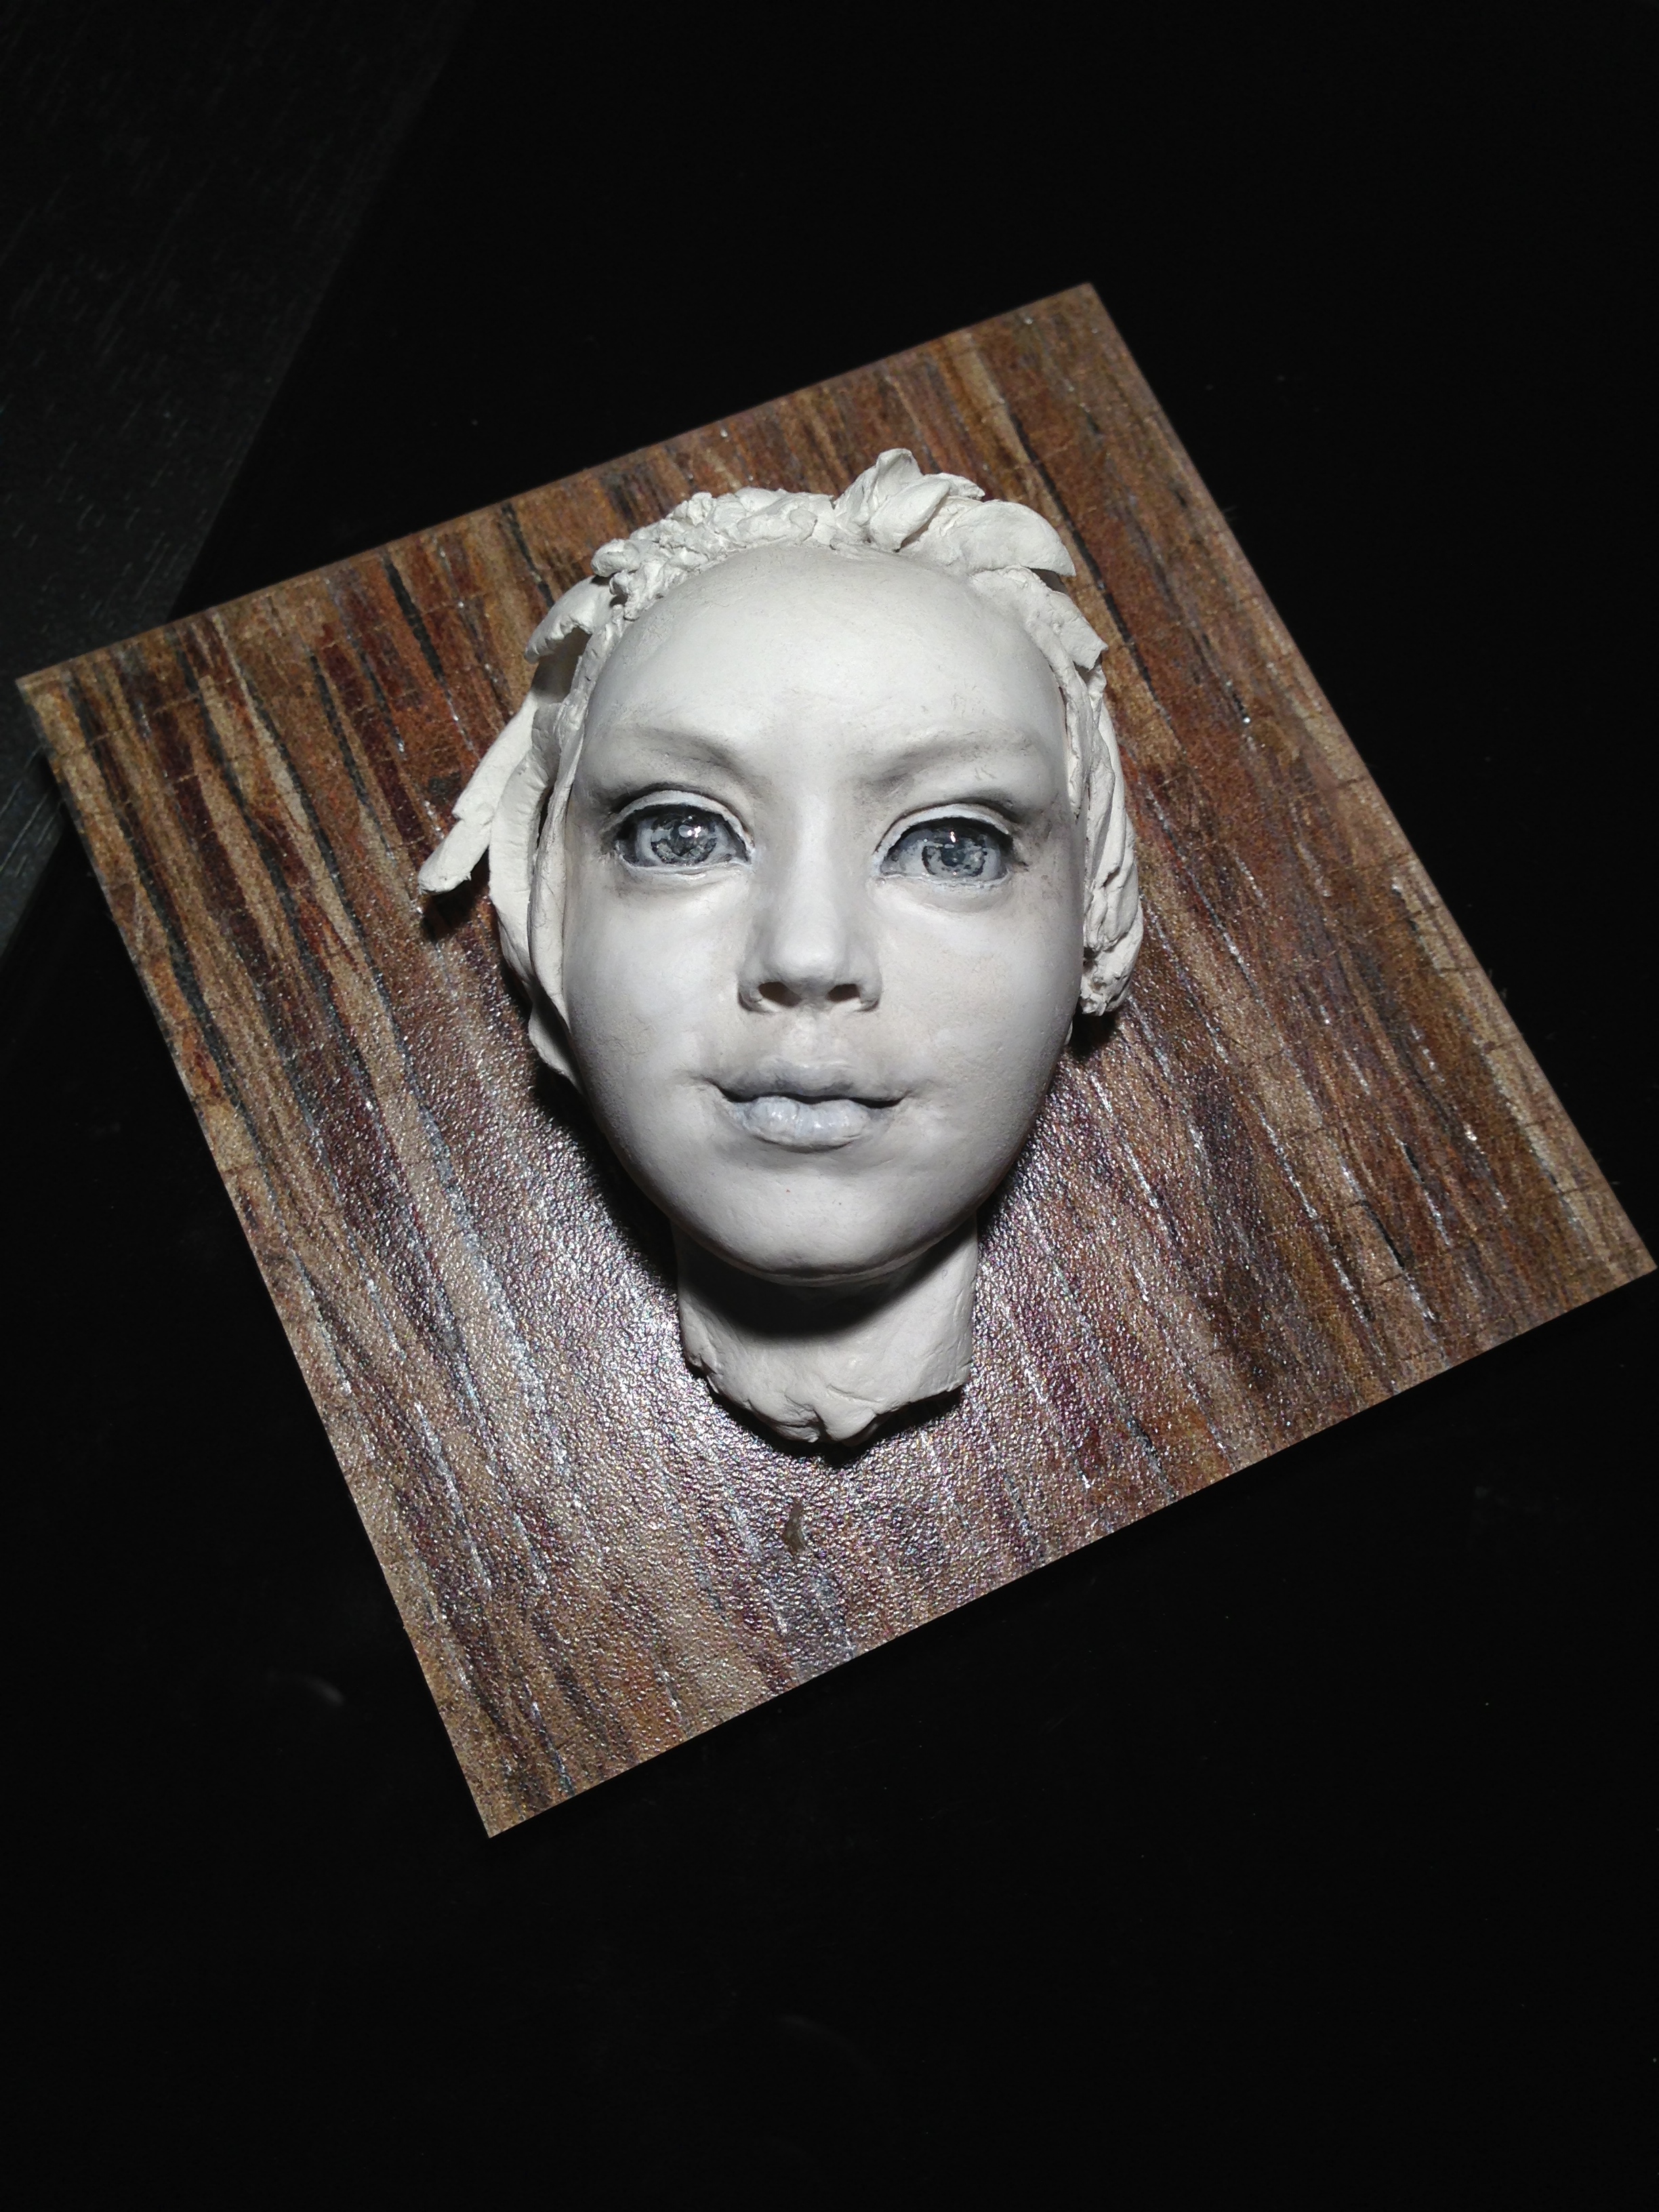
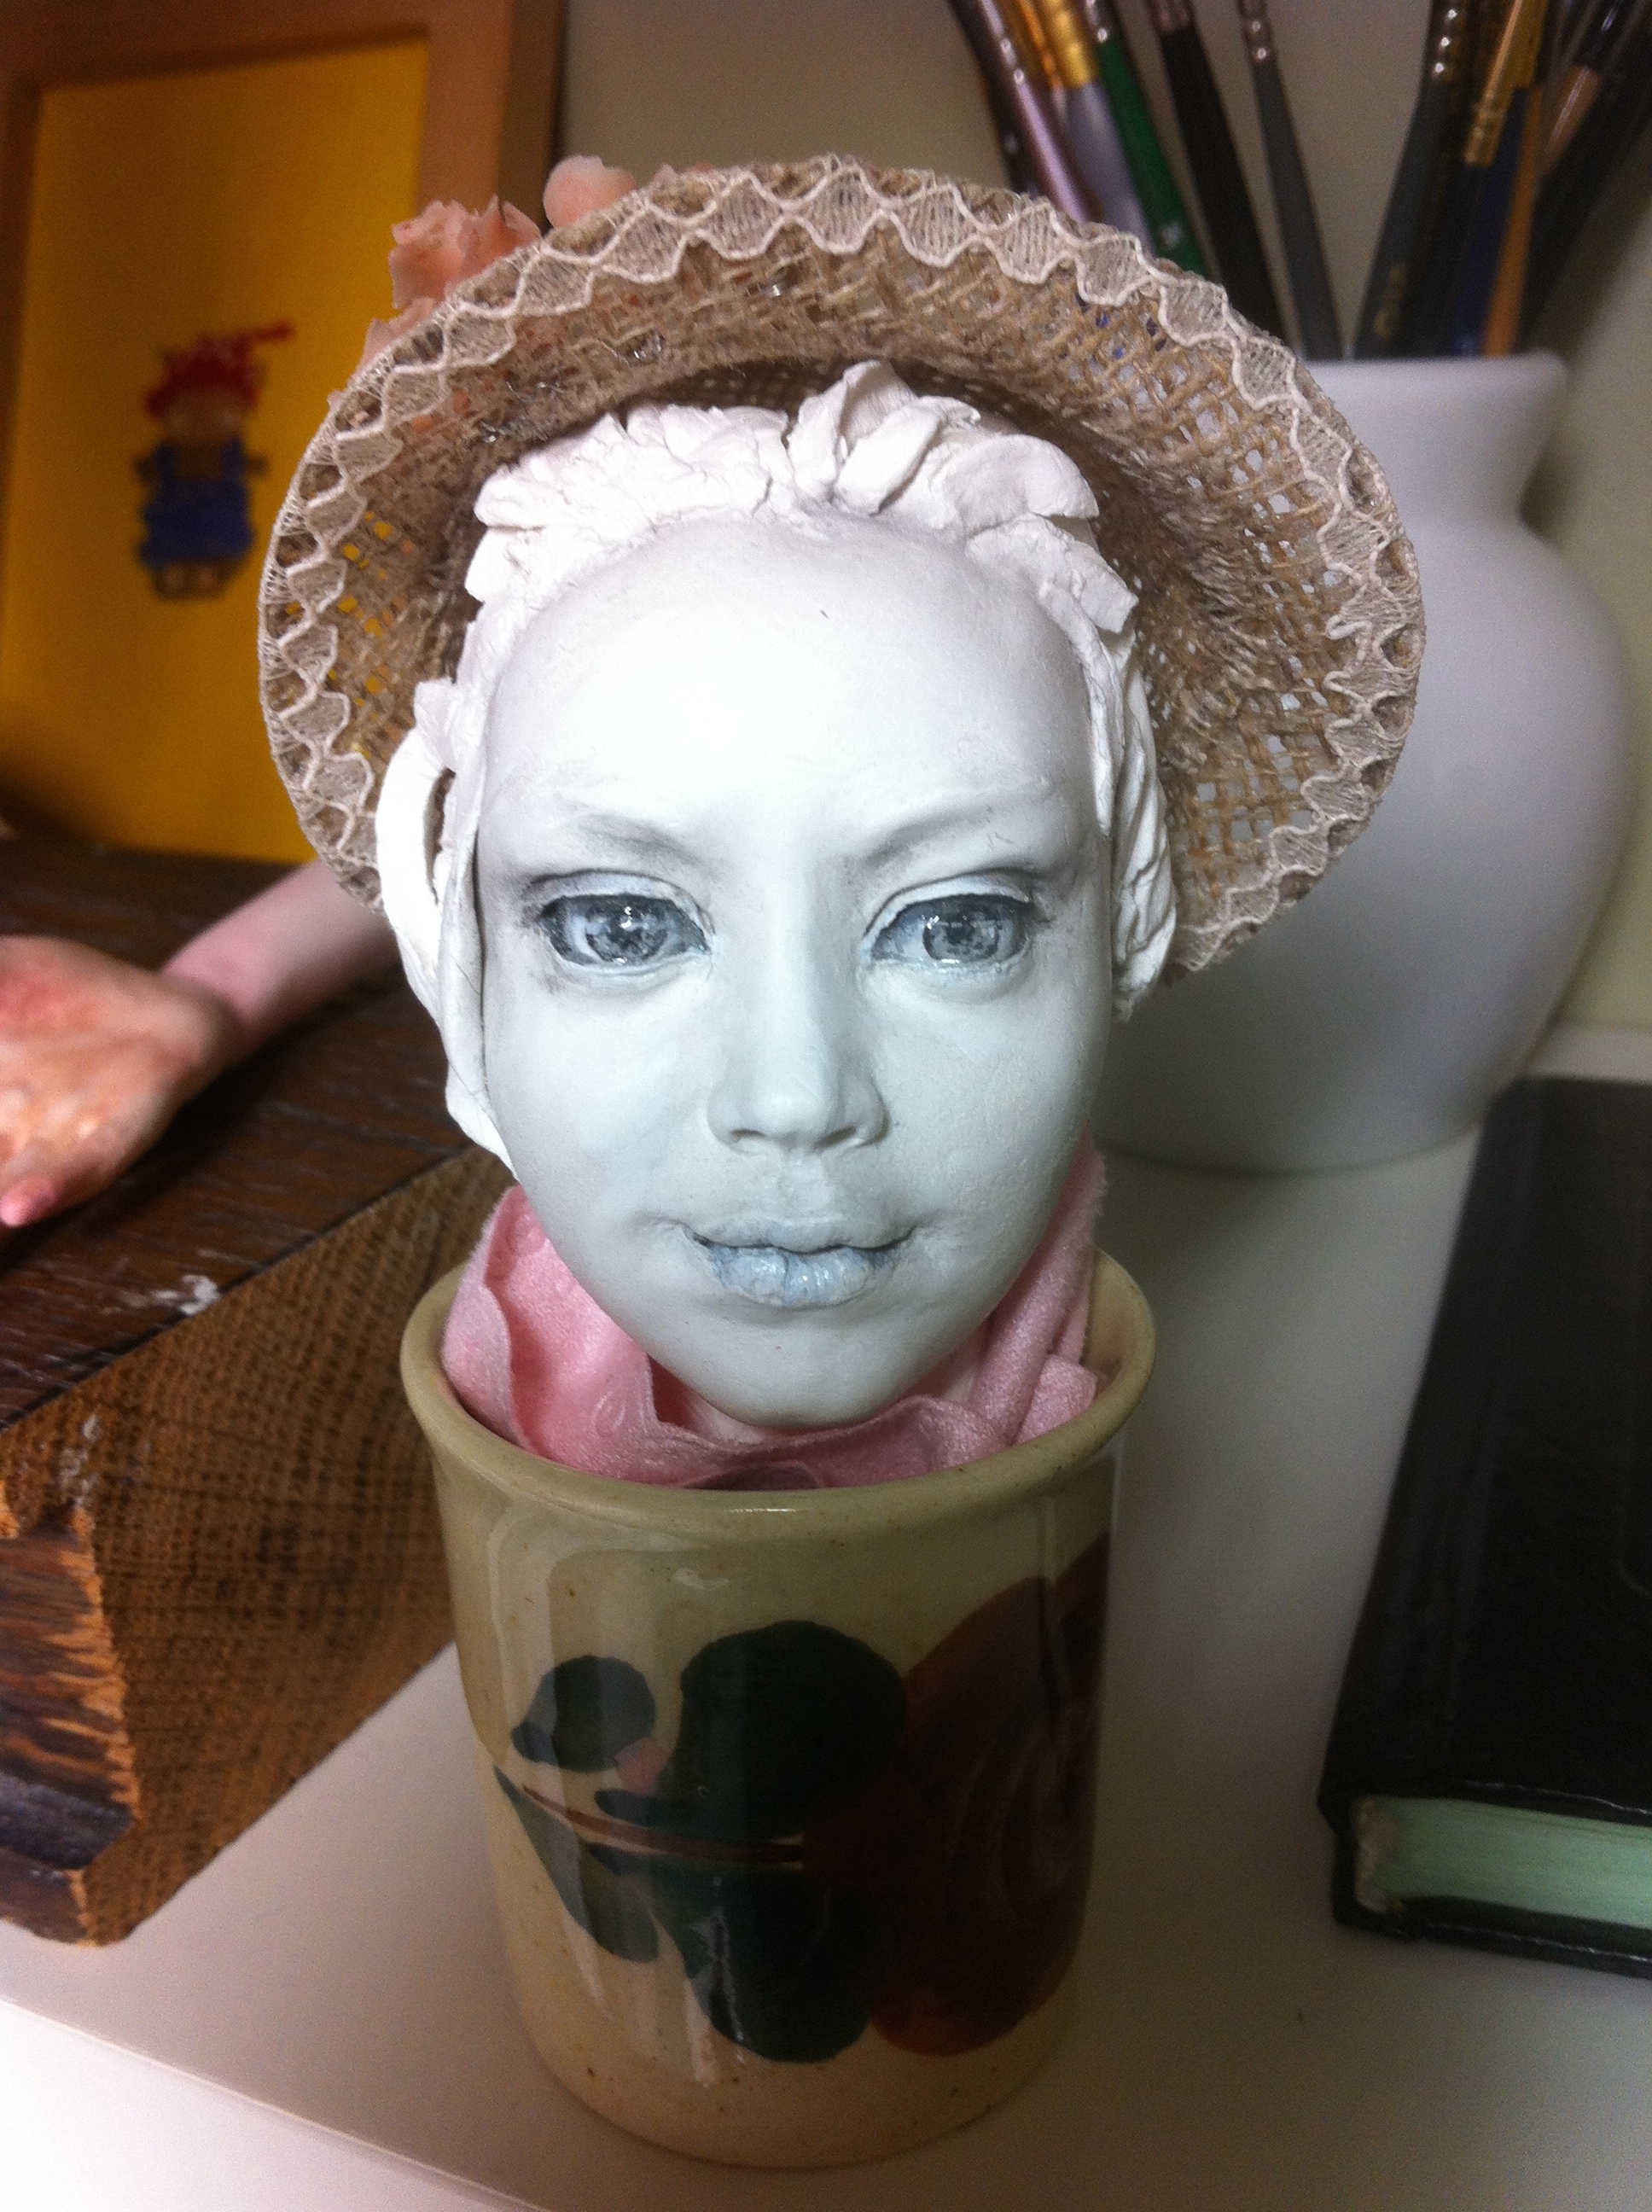
I tried out to sculpt and paint eyes differently. The eyes on some images look blind because they are not dry completely yet.

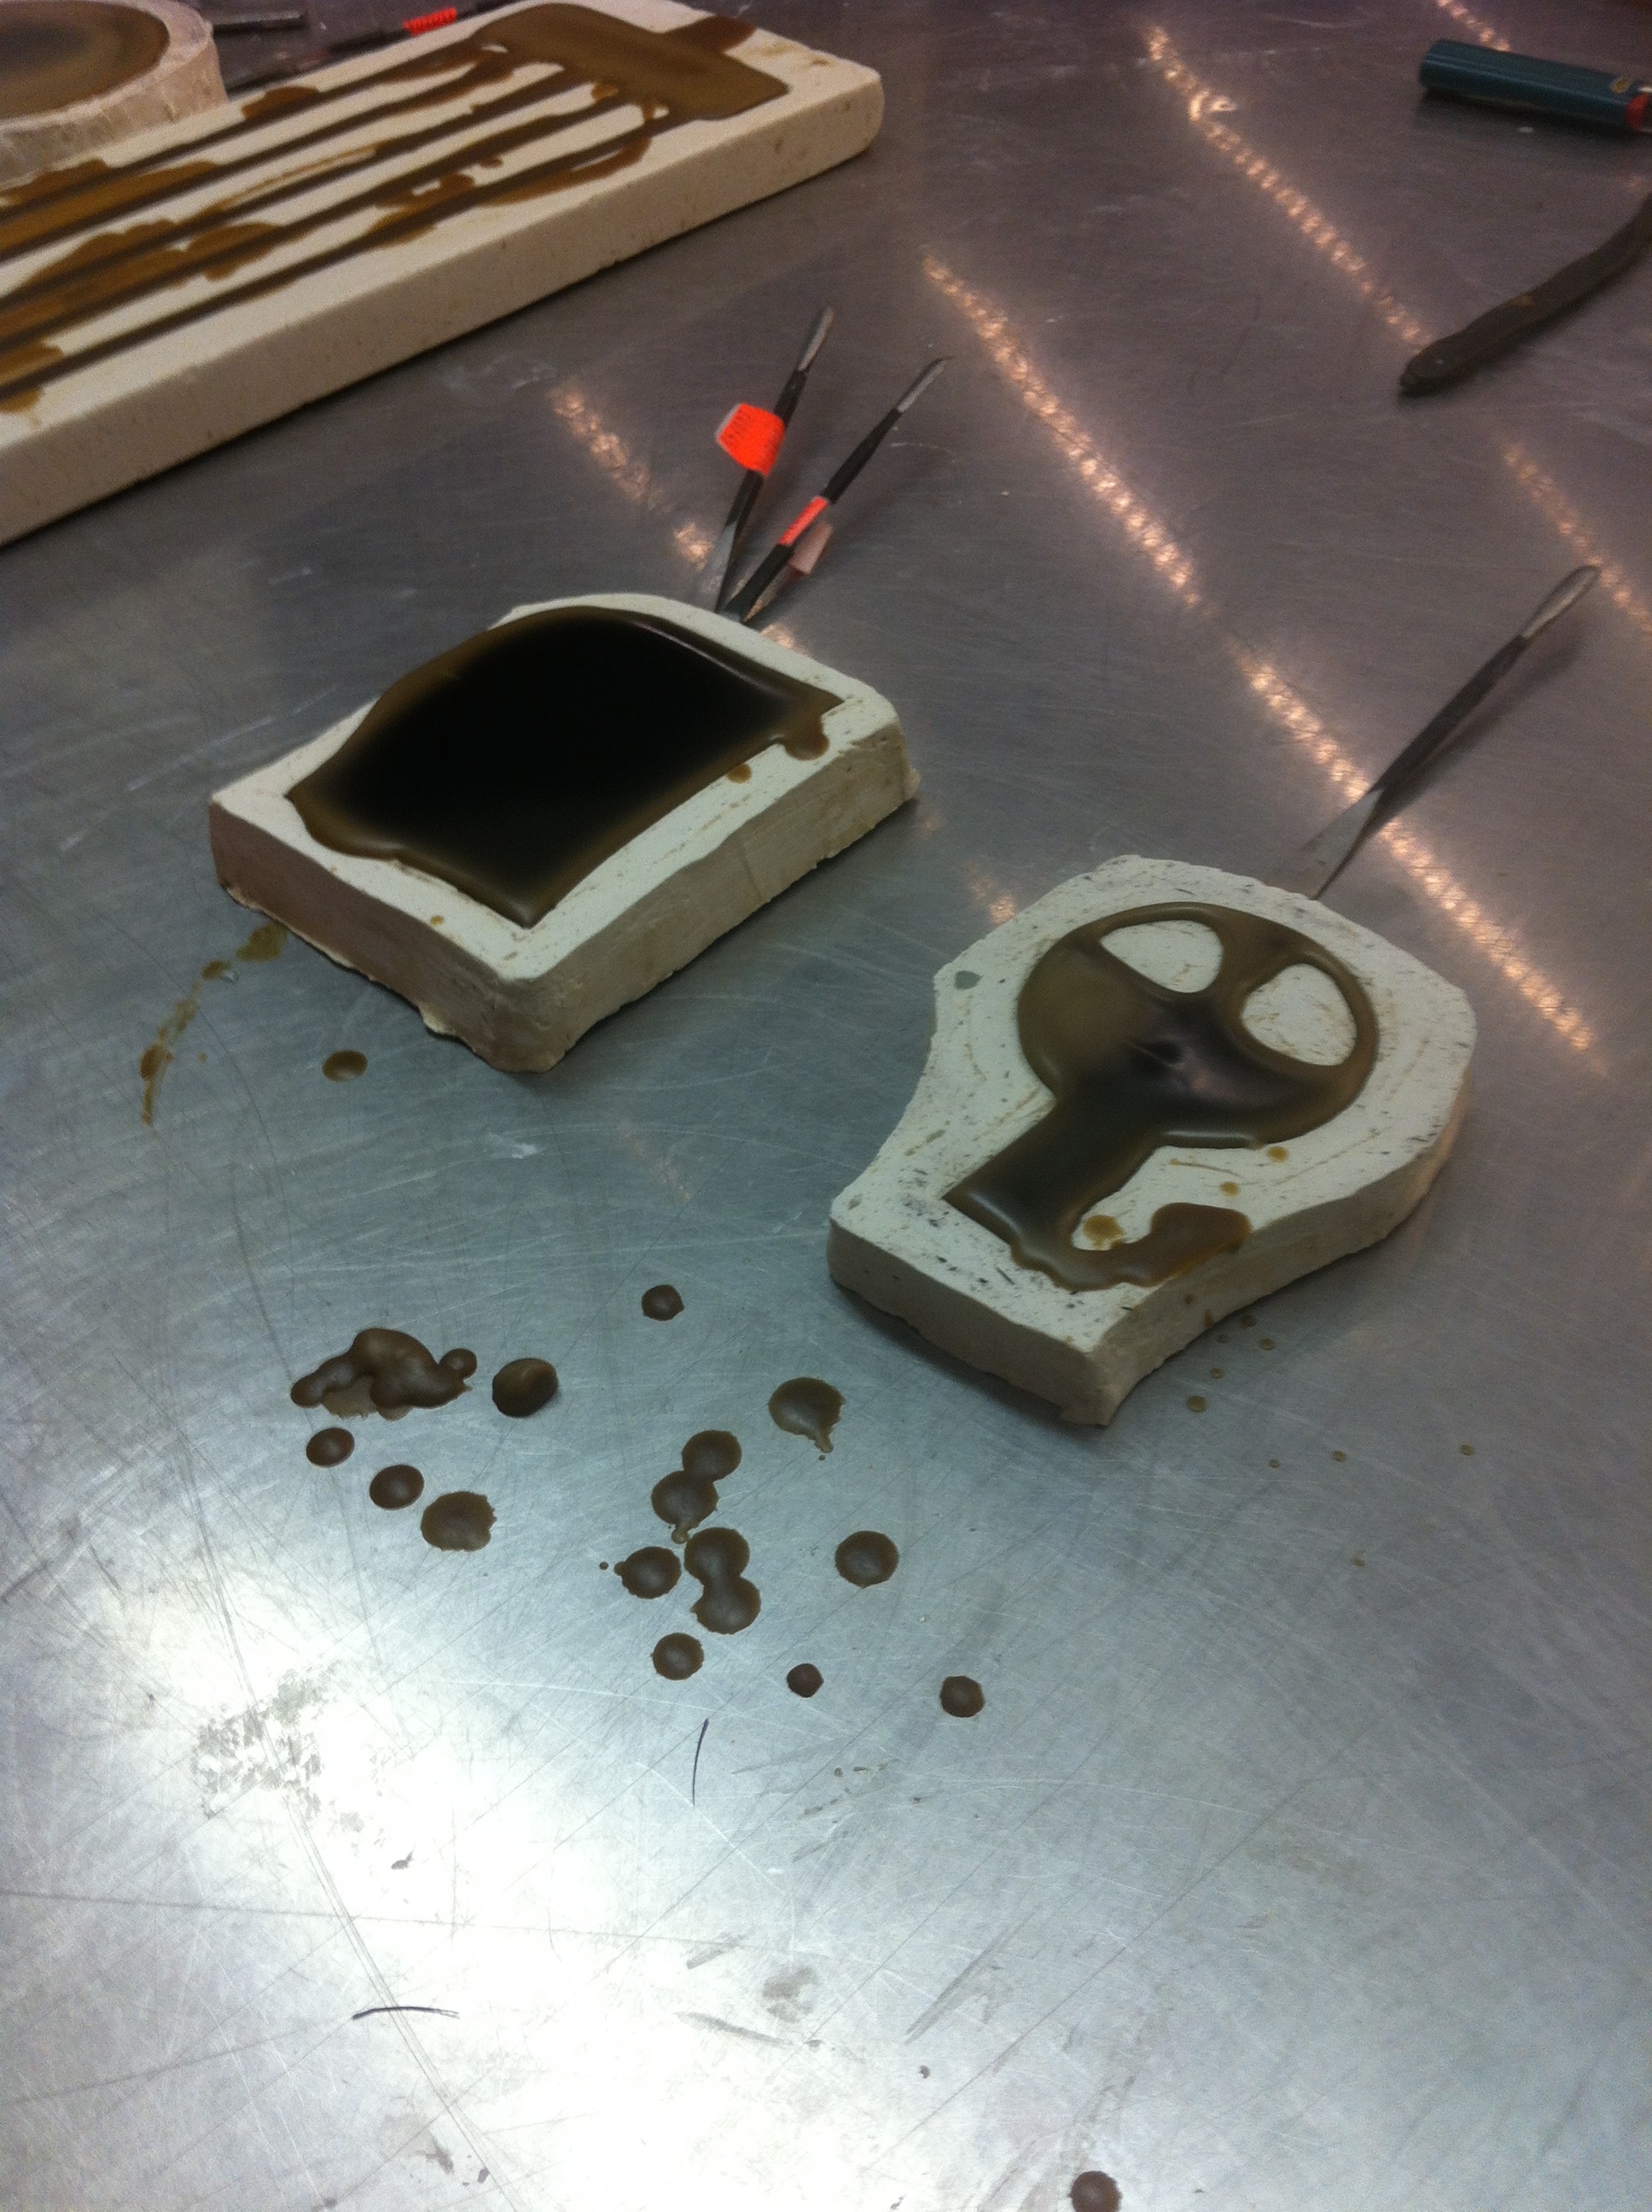
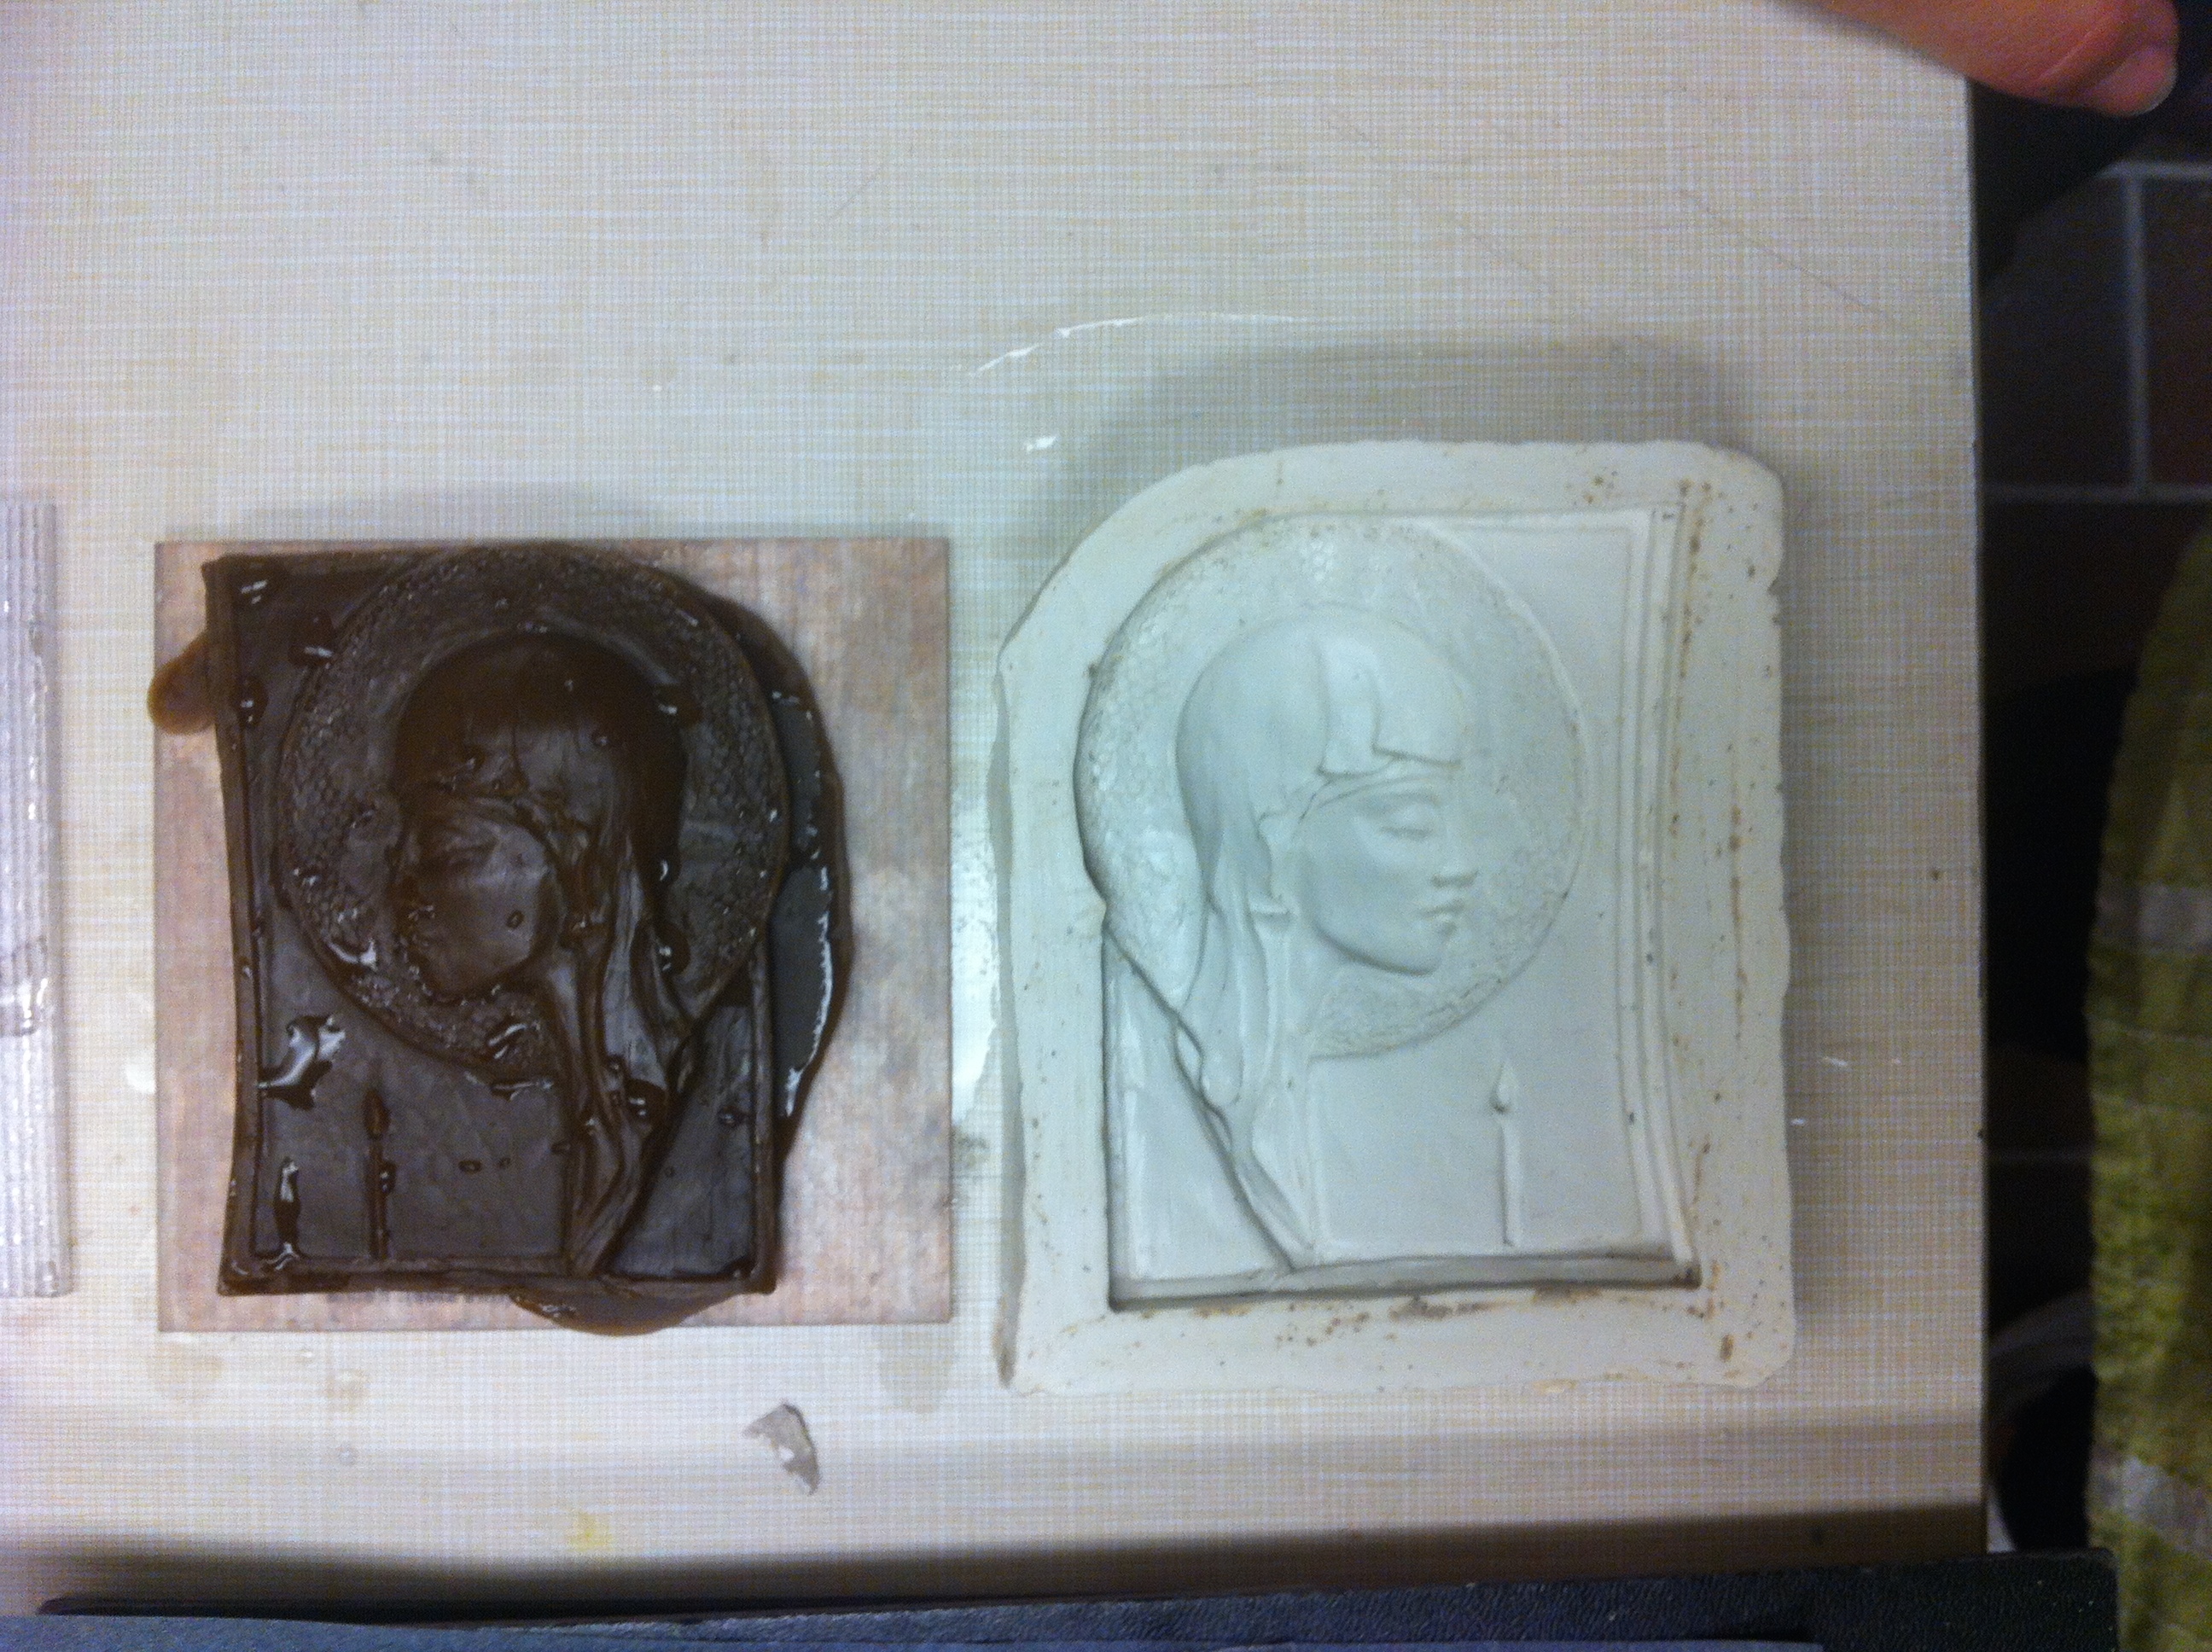
About Pearl clay: It is perfect for sculpting and very easy for finishing. It does not shrink much, clean and beautiful. It was a pleasure to work with.


Lost wax bronze casting

Bronze medal making class started at the last Thursday at Central Technical School in Toronto.

33 hours for making bronze medal step by step. The first step is to make a plasticine model of front and back sides.

Here they are. My first experience in this sculpting technique. Medal sides made of sculpting Roma plasticine.

Bronze medal front          Bronze medal back

The next step is to make a plaster mould:

Make a clay board around the plasticine model.

The hight of the board is 1/4″ above the highest point of your medallion sculpture and the thickness is about 1/2″.

You need  1/2″ of empty space around the plasticine model

IMG_1728       IMG_1730       IMG_1732

Make sure the outside walls of the clay board do not have any opening at the bottom.

Water-down small amount of clay and apply it on the surface of the free space around the model.

Give it to dry a little and pour plaster on it

That what we have when the plaster mould is dried out

IMG_1789       IMG_1791       IMG_1792       IMG_1795

The next step is to make a wax model.

Before pouring wax into the plaster mould you need to soak the mould in water for 10-30 min to let the bobbles come off

IMG_1797      IMG_1803       IMG_1807

Start pouring wax from the deepest point in your plaster mould and let it harden.

Then put the plaster mould with the wax into water again and take the wax model out gently

IMG_1816

Clean out the wax model to prepare it for bronze.

At this step you have the opportunity to add some details or make the undercuts to increase the relief of your medallion sculpture.

To be continued….


YouTube Test

Just a quick test on YouTube.

‘Alexandra’

Hello to all!

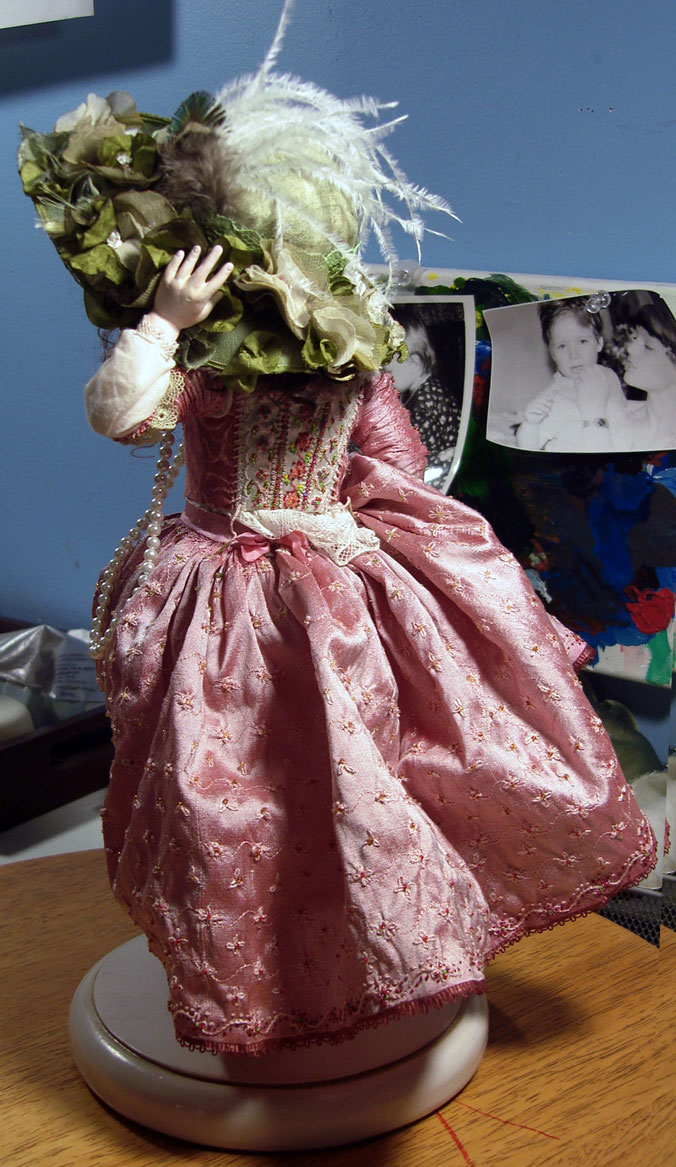
Alexandra is a 21″ height. I finished her in April 2012 to exhibit at Toronto Art Expo.

       
Her costume made as a modern outfit. It made by hand also. All fabrics are fine chiffon silk embroidered with a Japanese seed beads. Necklace and the bracelets are made of metal, beads and silk ribbon.

 Something in details


Alexandra’s hat made of chiffon silk, fine lace and Japanese beads embroidery.

Alexandra’s jacket is decorated with silk ribbon and Japanese beads embroidery.


Alexandra’s necklace, bracelets are made of metal elements, silk ribbon and Japanese seed beads.


Alexandra’s shoes made of silk, fine lace, lather


Alexandra’s bag made of taffeta silk, metal elements and chain.

Alexandra is now exhibited in Moscow Art doll gallery.

Back to Gallery

Costume for ‘Heiress’

Heiress’s costume is based on 16th century patterns. Every detail is made by hand.

back view

Underwear made of cambric with very fine lace.

Corset, sleeves and skirt made of  silk taffeta embroidered with silk and Japanese seed beads.

 Details of  Accessories

    In mom’s hat.

Flowers made of silk with Swarovski crystals.


Embroidered with silk and Japanese seed beads front and back of corset.


Heiress was exhibited in Toronto and in Moscow in 2011. Now she is in private collection.

Back to Gallery

little ‘Heiress’

She is 12″ height.


Costume for ‘Heiress’ is next.

Hello to all!

ART & LIFE! ART DOLL MAKING!

Just want to make a perfect place for my dolls. In the past, the present and the future.

Nothing more but images and a few  words for explanation.